|
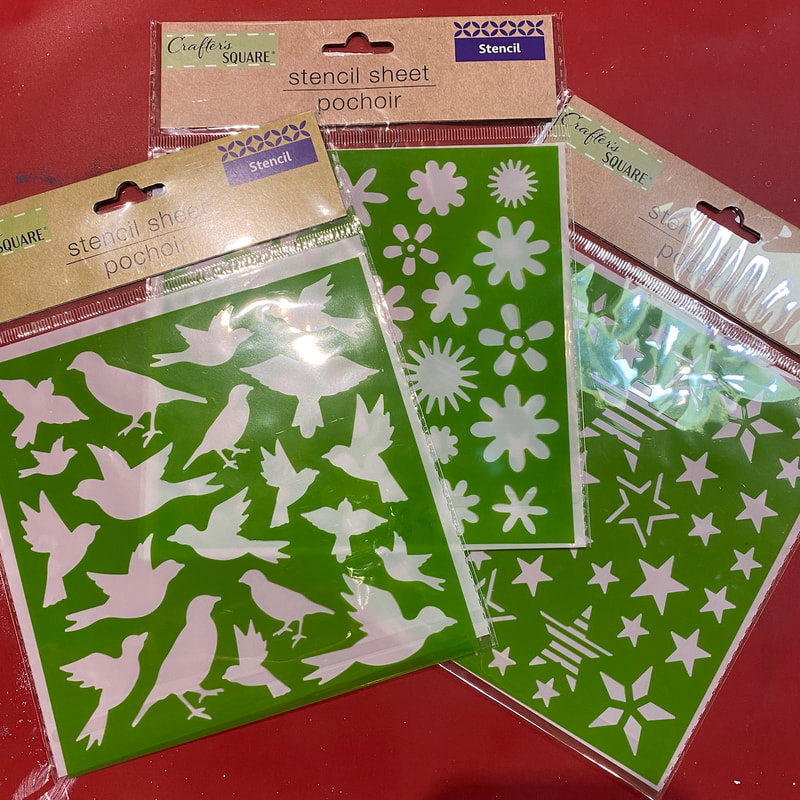
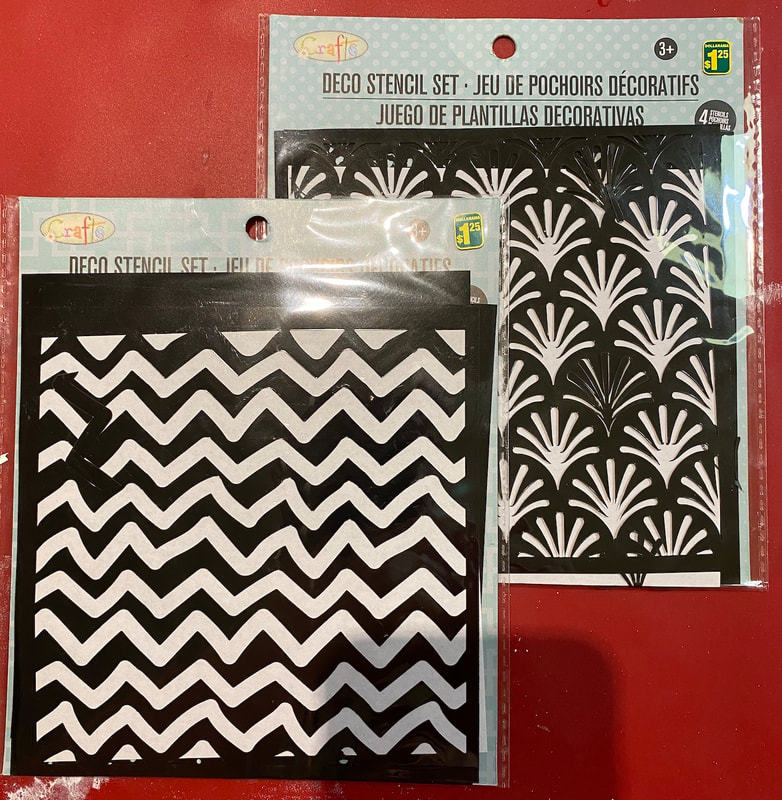
Stencils among my favourite things to work with, whether for painting or printmaking, working flat, blended or atmospheric, or creating impasto effects. Anybody who's taken one of my classes knows that I love – and encourage – making custom stencils, because they are personal and show the hand of the artist. But that doesn't mean I don't love a good commercial stencil, because I do! If only my wallet were fatter, so would my collection of bought stencils be (maybe you can relate!). Good commercial stencils have wonderful, sometimes intricate, designs, are sturdy, and can last indefinitely if cared for. They will also be translucent so you position the design exactly where you want it onto a prepared surface for example. This blog post isn't about those high quality and at least somewhat expensive stencils though! Instead I'd like to introduce you to the world of dollar store stencils. Pictured above are collections I have purchased at Dollarama and at Dollar Tree. I didn't buy all of the sets available, but both places offered a few. (Continued below.) VIDEO: When I get new stencils, I make reference prints using black ink. I like to use my gel plate so I can pull positive and negative prints, but you can also use a sponge, stomp or stencil brush directly onto paper. Finally I like to try a few simple prints just to get acquainted with the stencils. The Dollar Tree stencils come one per package, are cleanly and fully punched out, their shapes are good and classic, the plastic is smooth, flexible, transparent but thinner than I'd prefer.
Dollarama's come with four designs per package, which are nicely illustrated on the packaging so you can preview your selection, or to help put them back in the correct package after use. They are less well made than Dollar Tree's (I had to finish punching out a number of the shapes myself), but plastic is thicker and somewhat stiffer, a different kind of plastic that feels more durable. They are also opaque, which makes them less easy to position precisely. Both are roughly 6" x 6" in size, suitable for small gel plates for example, or used as accents in larger work. Whatever the drawbacks, the price is hard to beat for someone on a very tight budget, or feeding a stencil habit they need to keep the costs down on! You may also just find the designs useful. Dollar Tree's are $1 for a single stencil (but always with many variations on an image theme!). Dollarama's are $1.25 for a 4-pack of various patterns. If you don't find them at your local store, you may have to try another location. What's available at any given location can vary quite a lot in general I find. Who doesn't love saving a little money on art or craft supplies? Let me know in the comments if you've tried any of these out. Also what's been your favourite cheap & cheerful art or craft supply? Prices are in Canadian dollars.
0 Comments
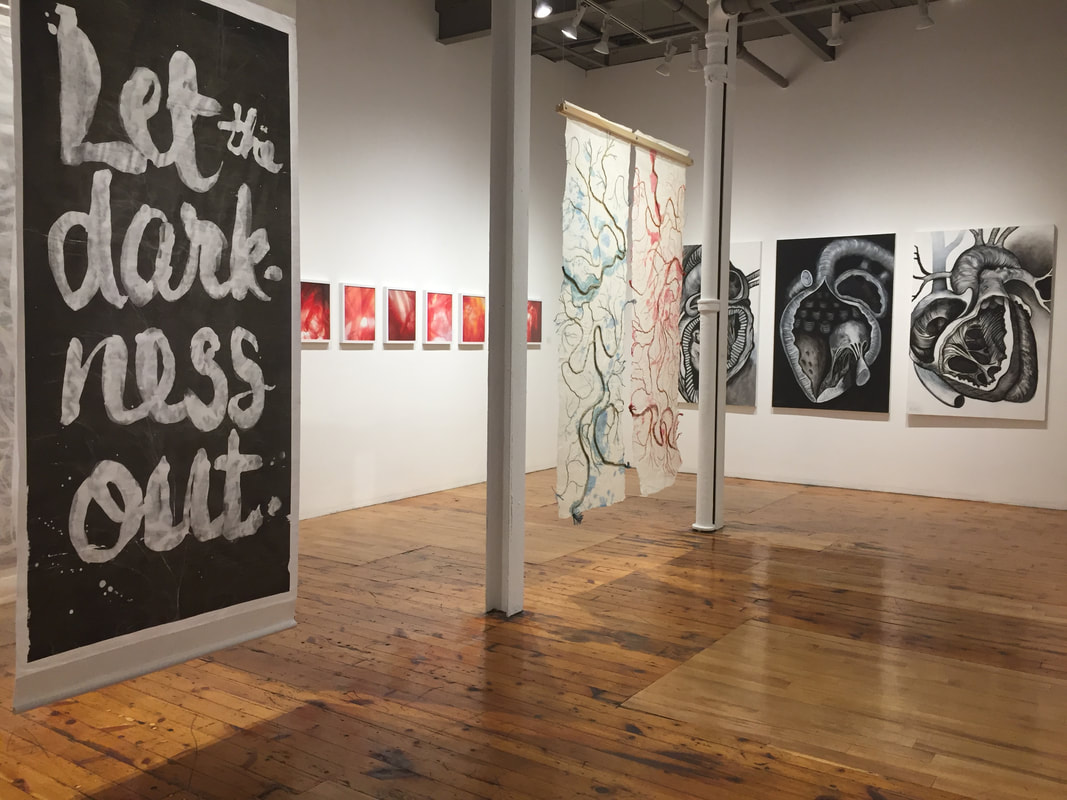
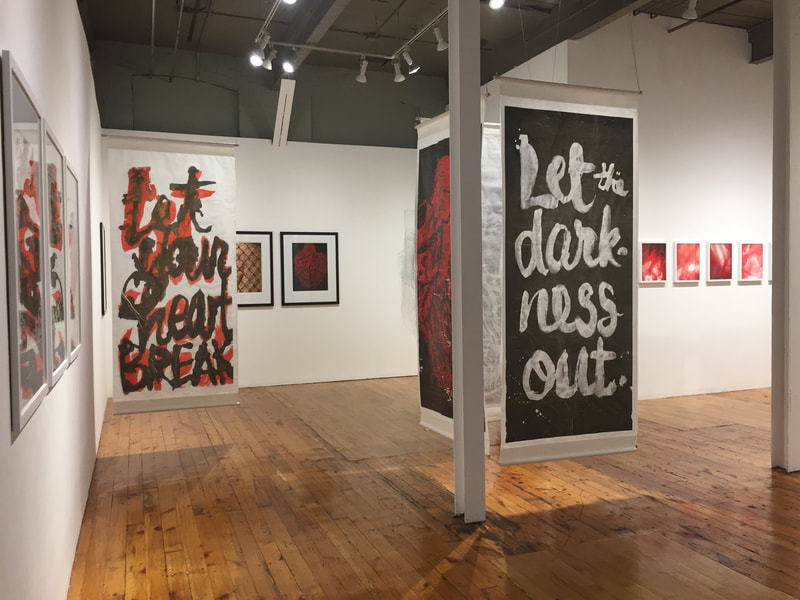
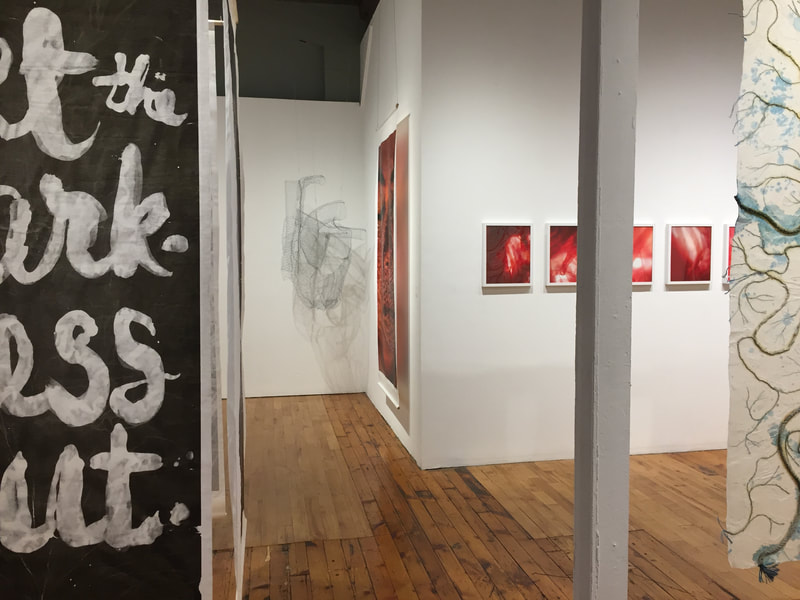
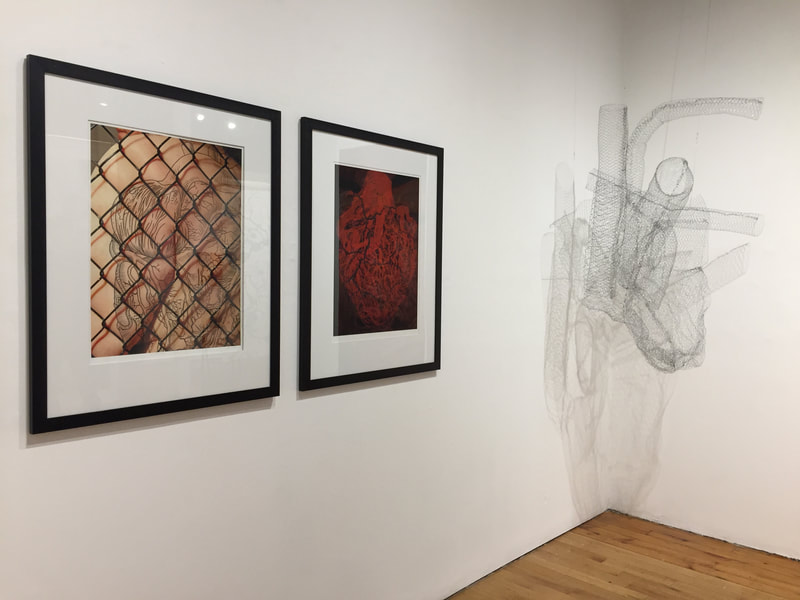
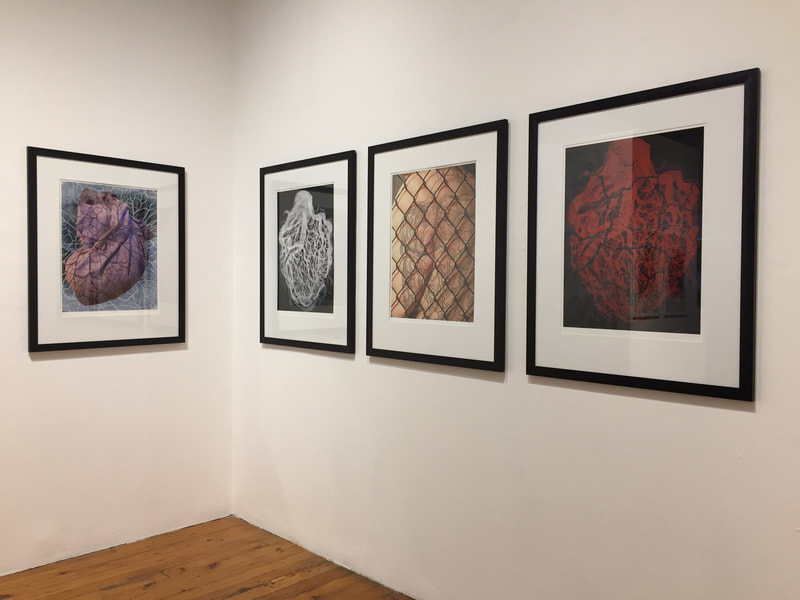
You are invited to my first solo show at The Red Head Gallery, where I became a member in 2018. For more information about the content of the show, click here to see the exhibition page. This show would be less than I’d hoped if not for the generous support of its/my sponsors. Many thanks to all of the individuals, and one organization, who chose to support this project! If you are curious about sponsoring new work, in any amount starting at just $10, please visit this page (click here) to find out more.
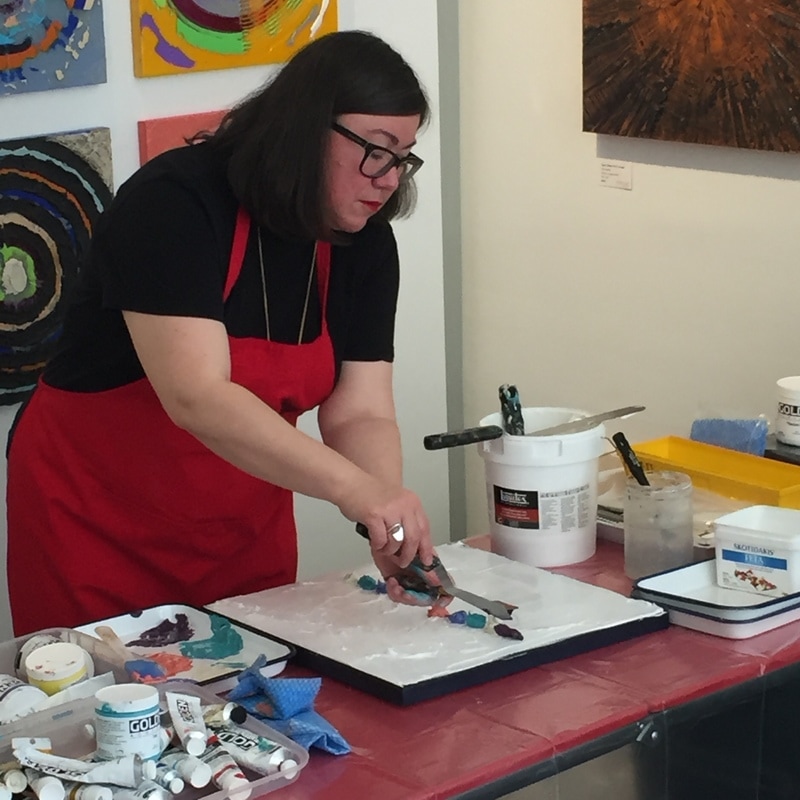
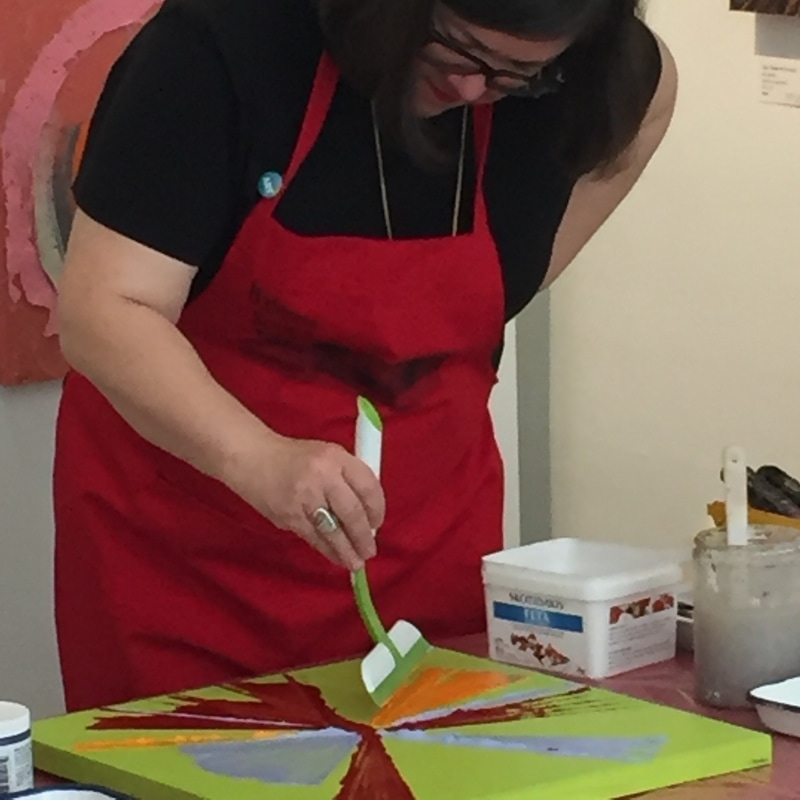
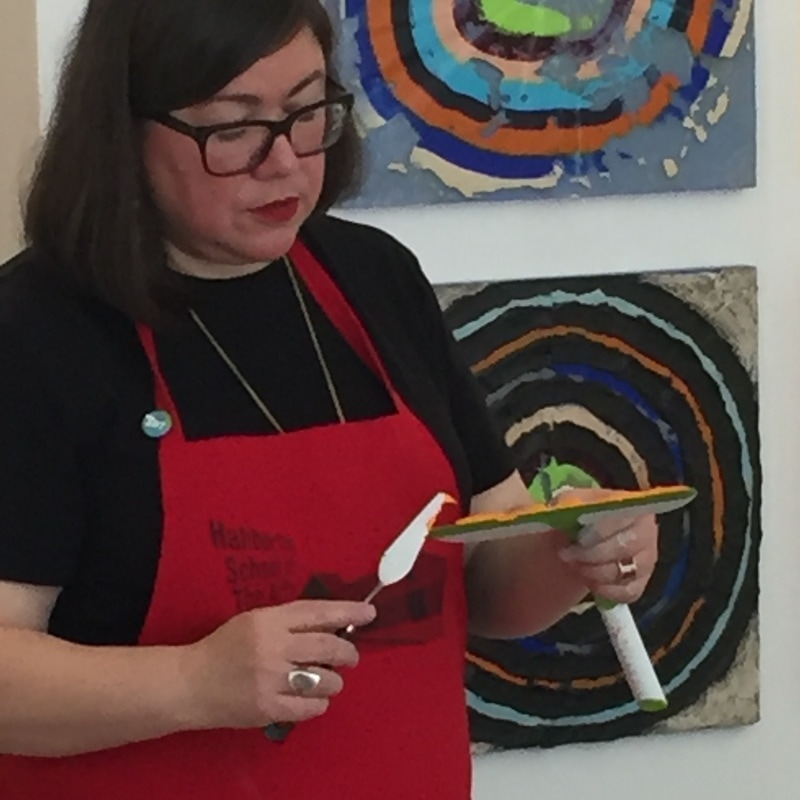
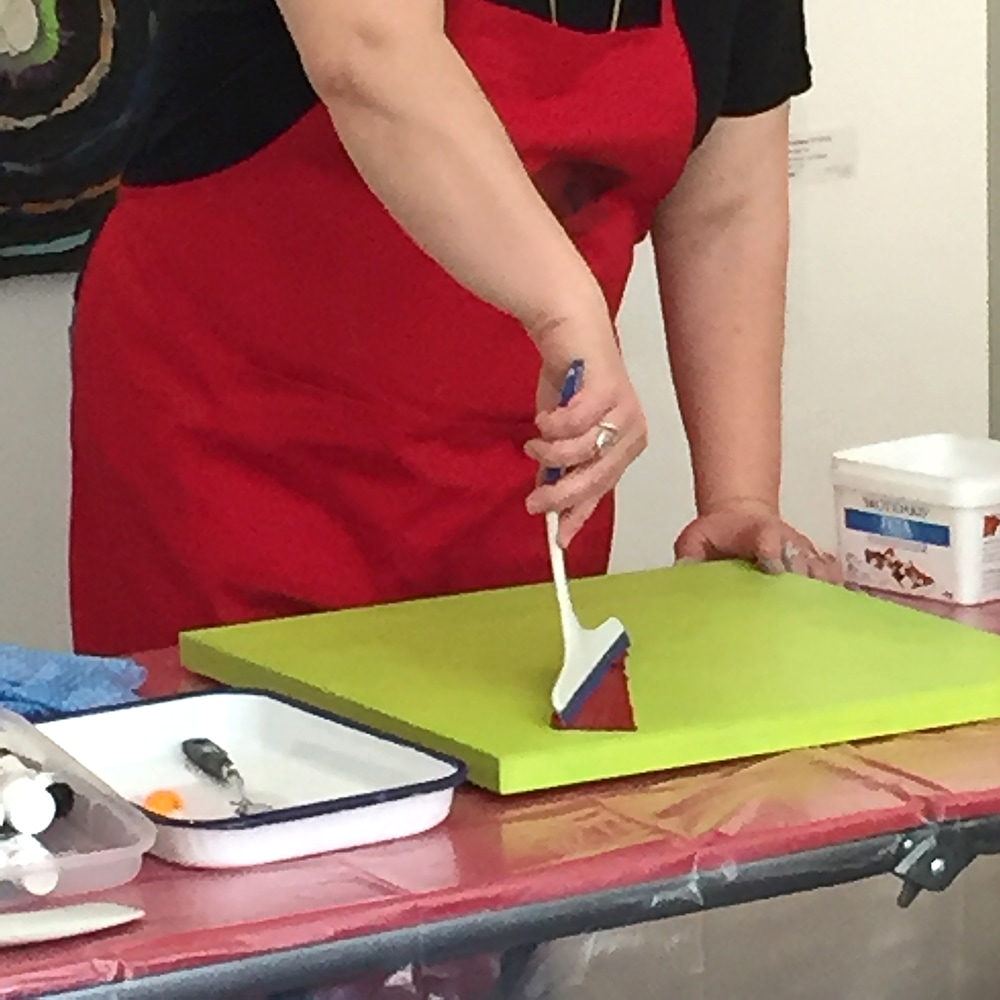
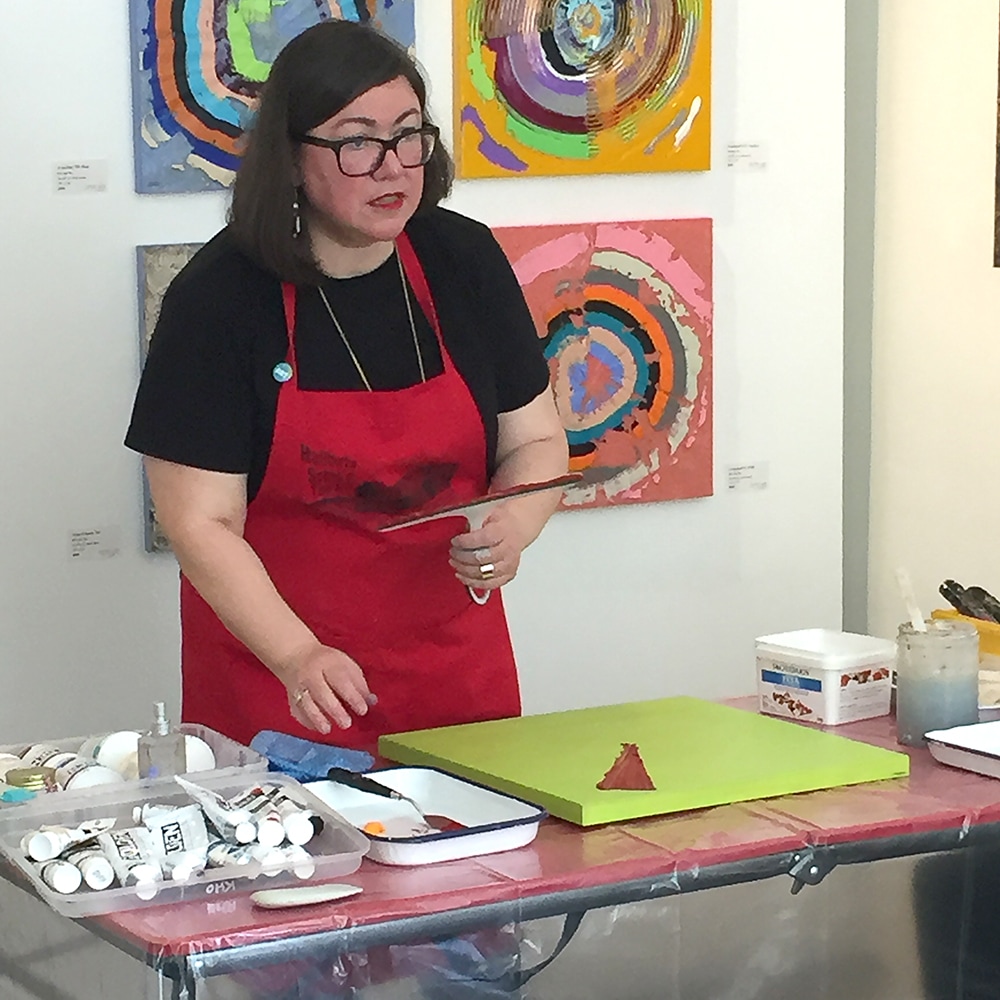
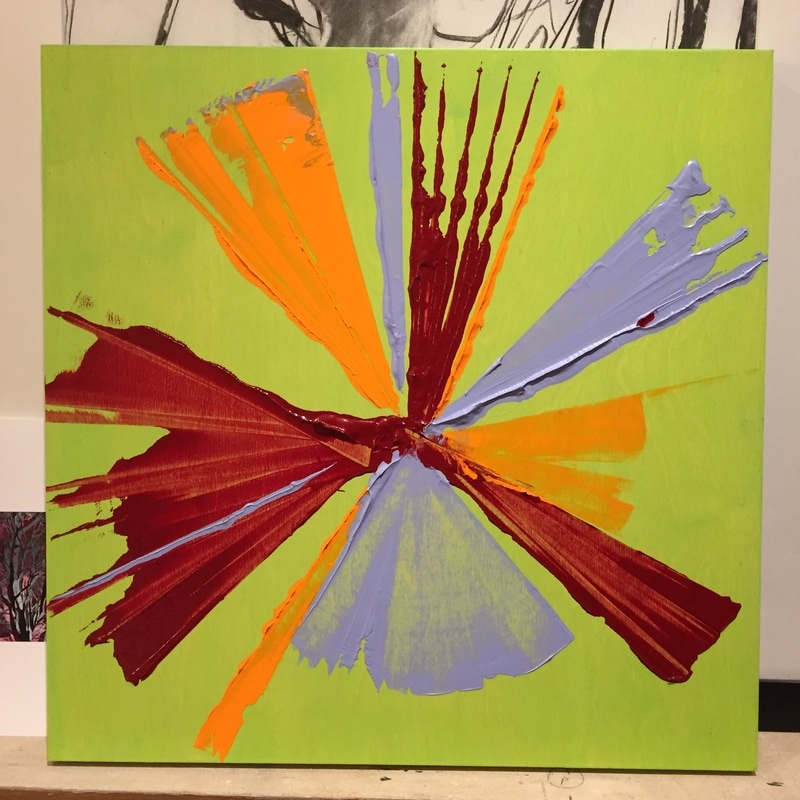
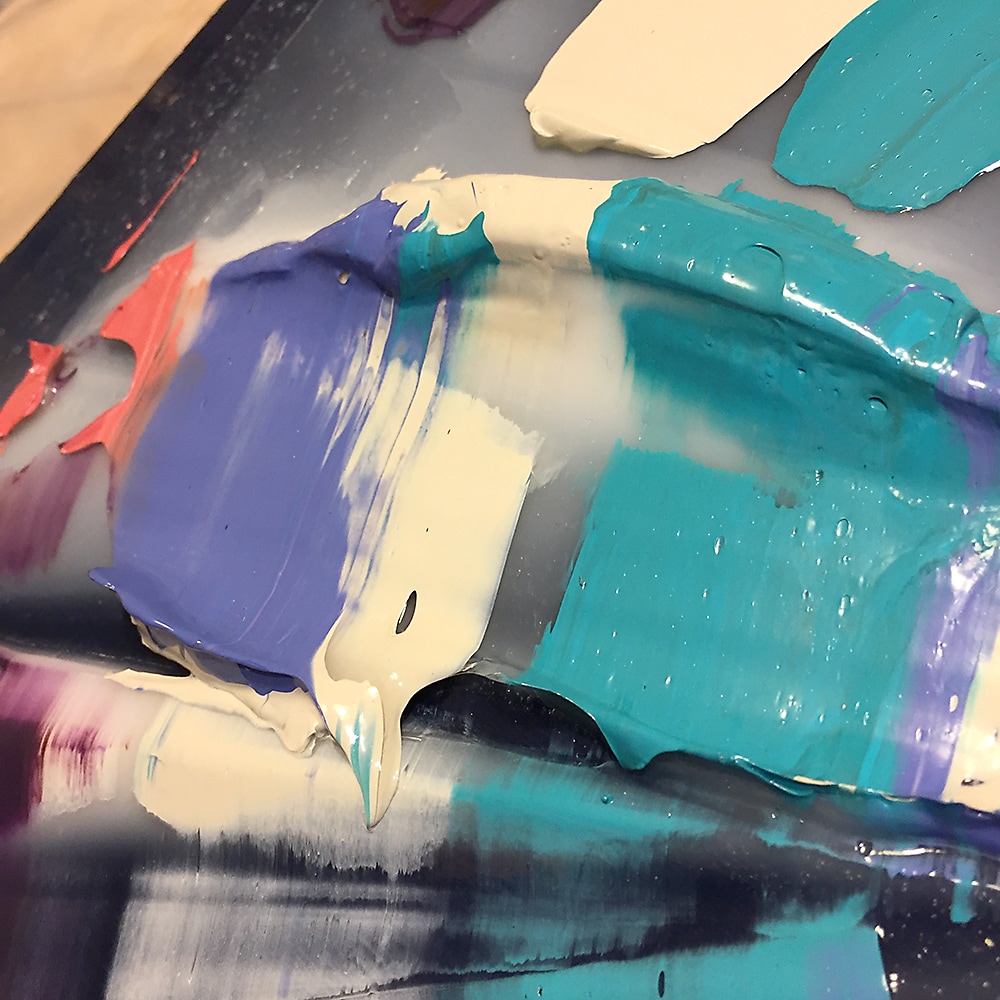
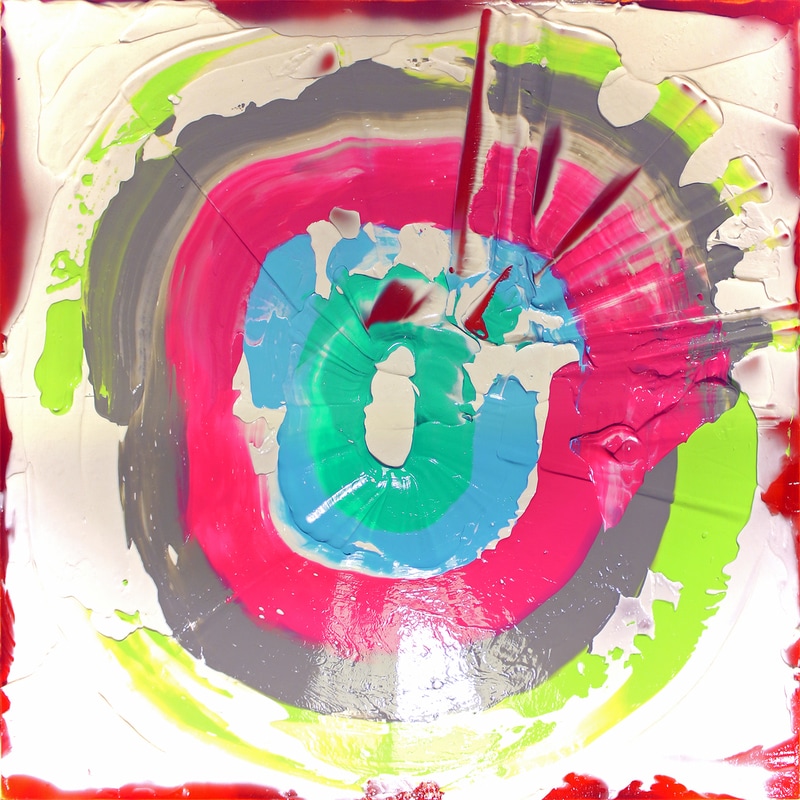
We had an enthusiastic group at Saturday's painting demonstration at Otto Art gallery in Toronto. I showed how I approach painting two series: my 'Aroundeds' and the 'Radiants' series that gave the show its title. I will continue to work on the 'Radiant' demo painting and post photo updates here when ready. Sandra Otto, the gallerist, shot video of most of the event, which you can watch below in two parts.
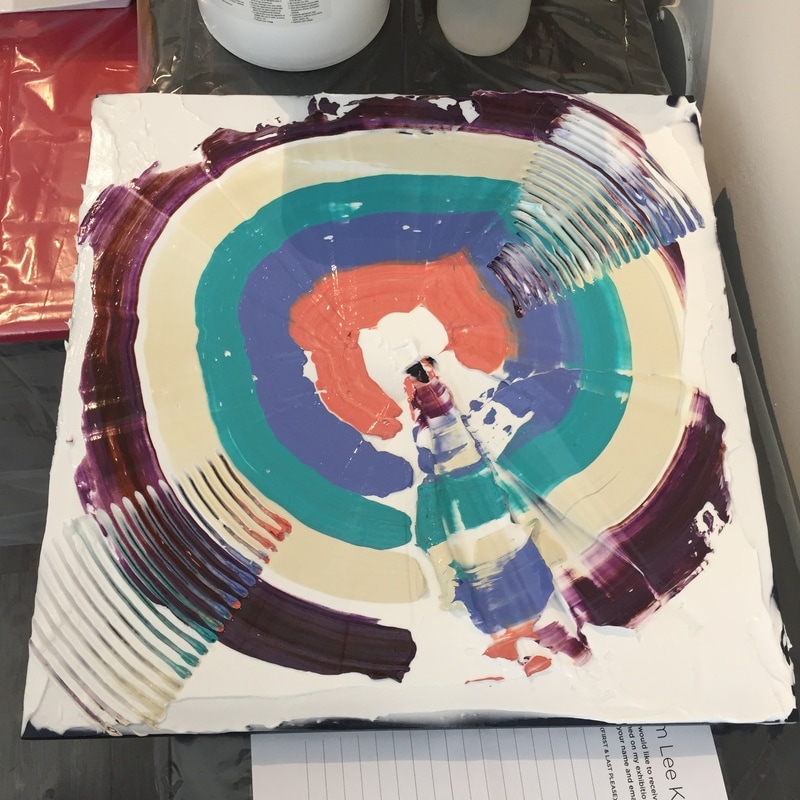
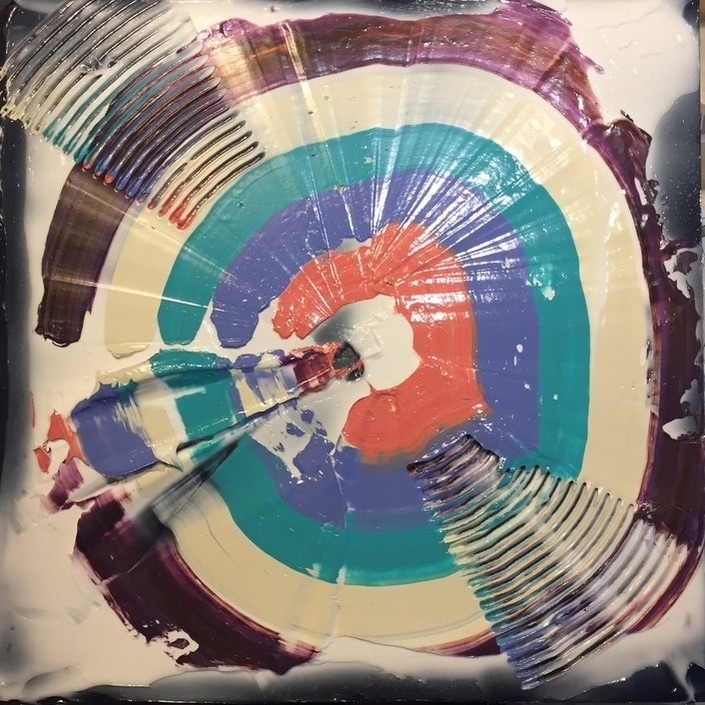
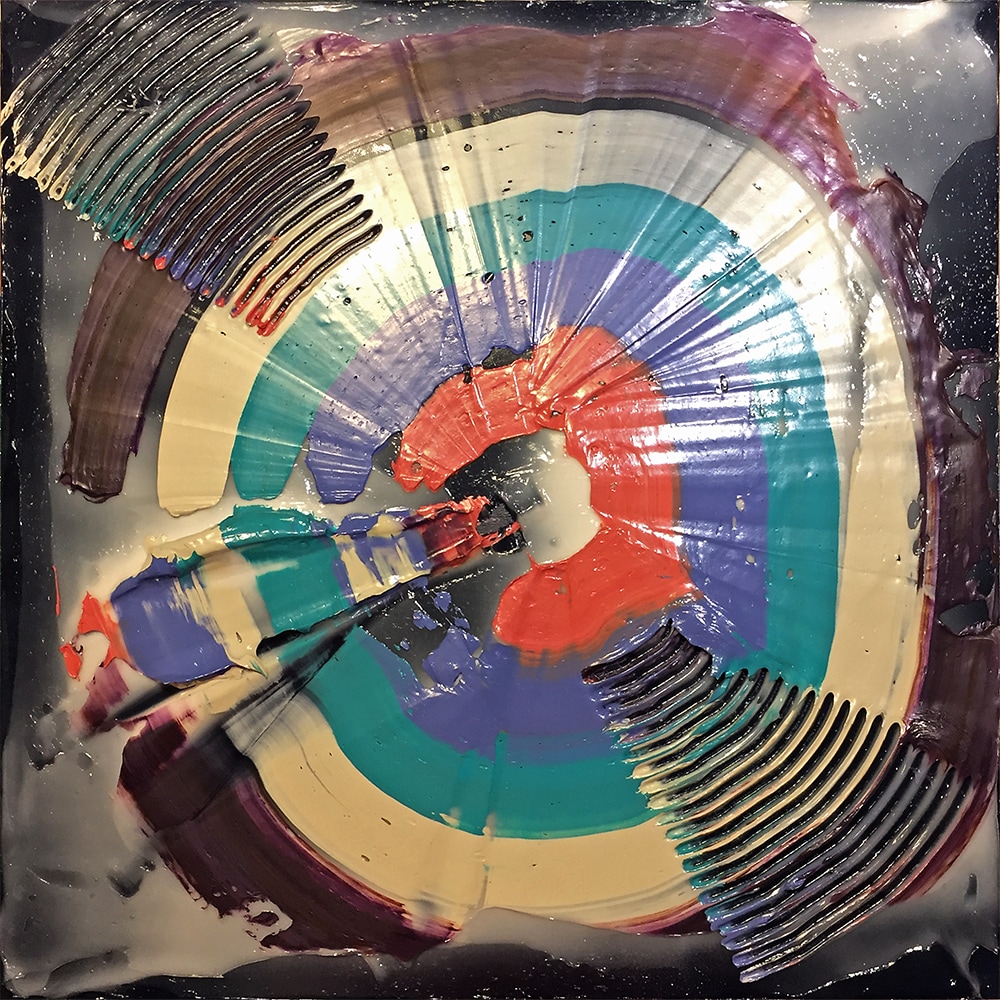
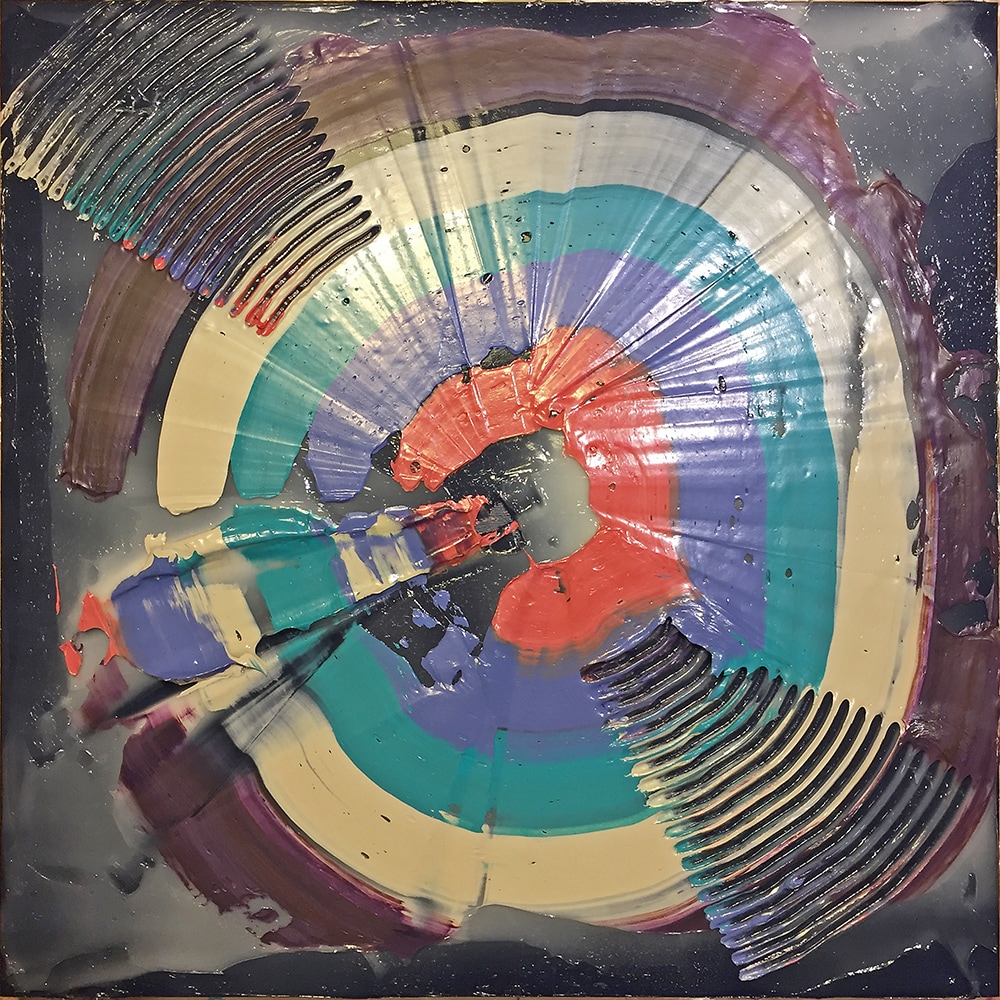
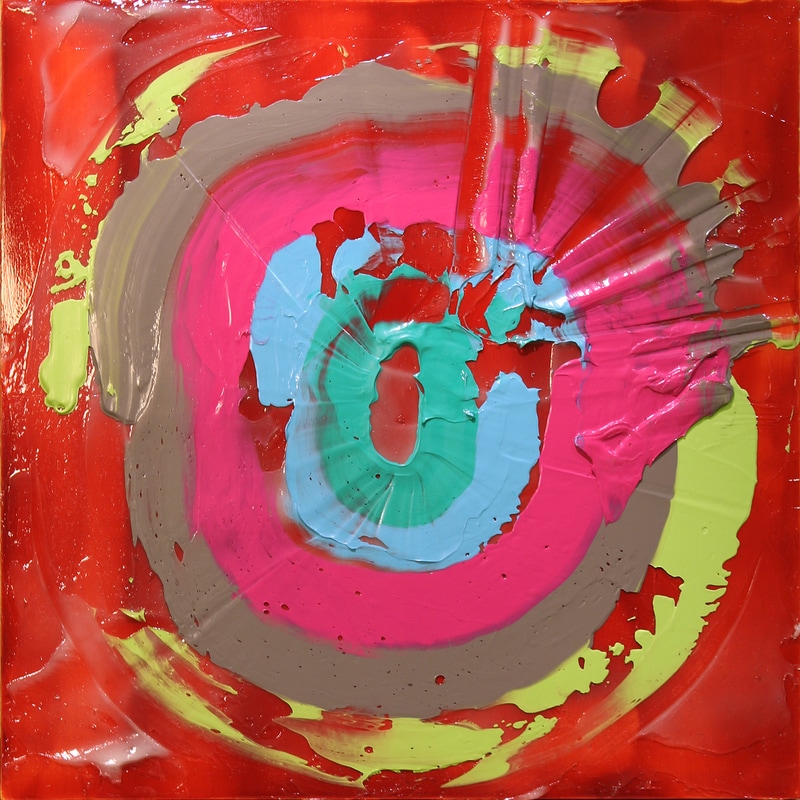
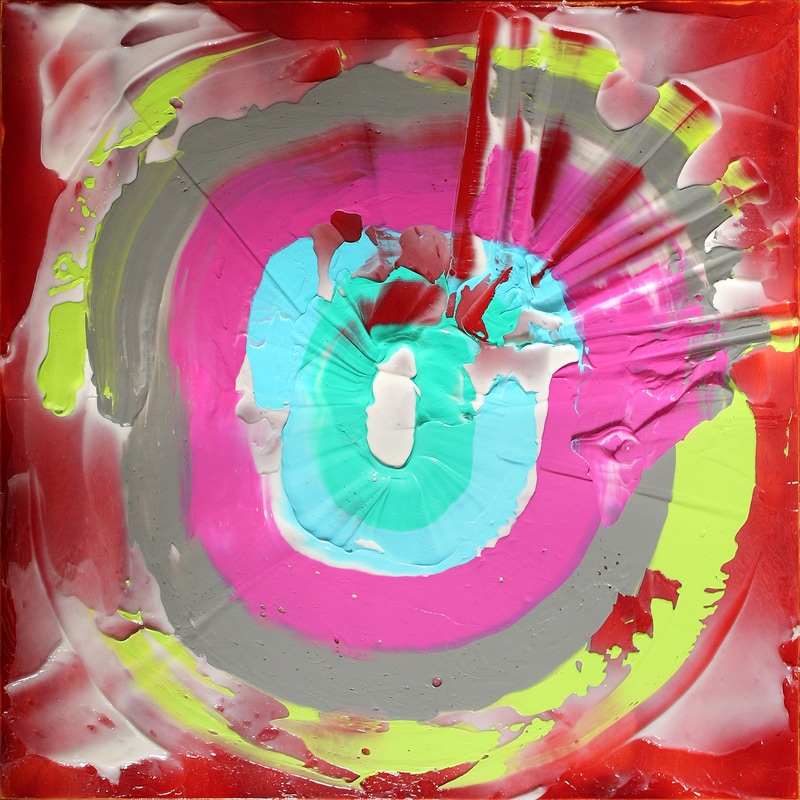
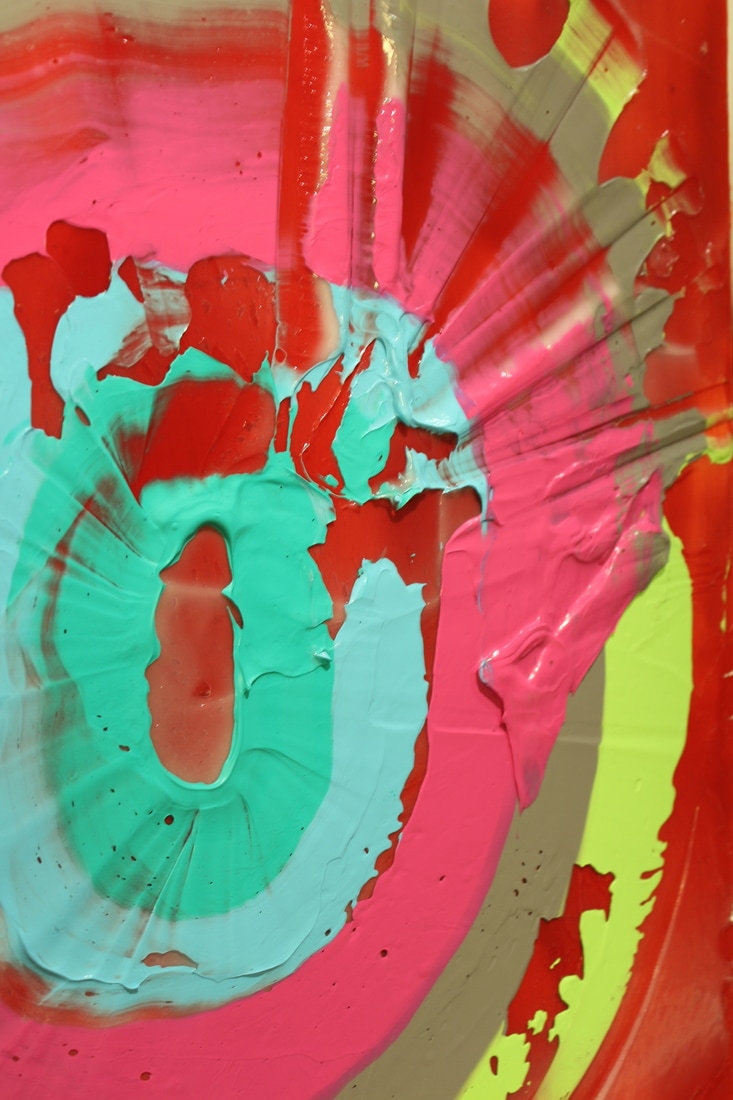
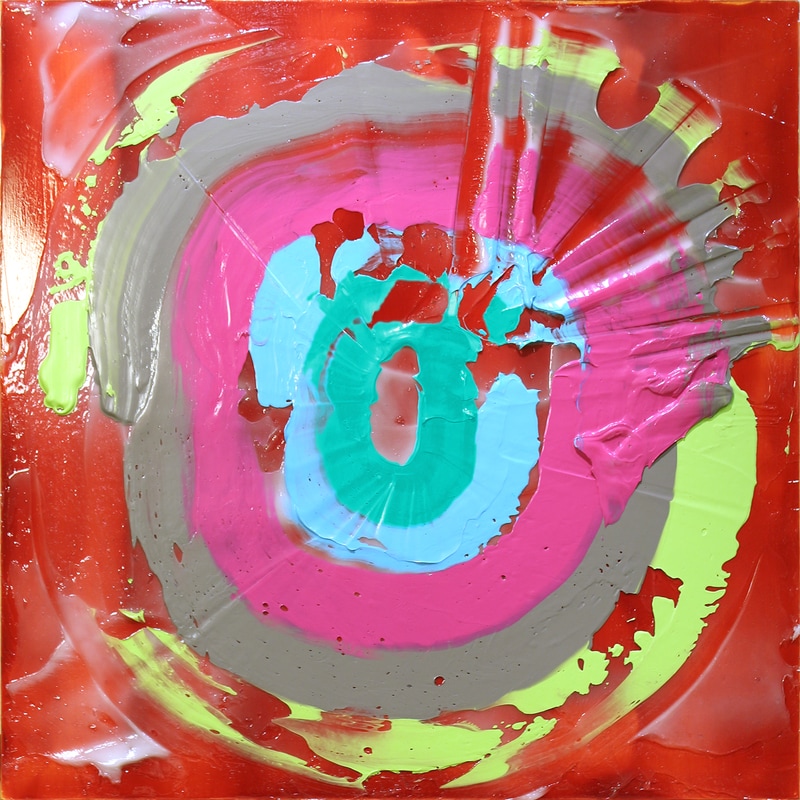
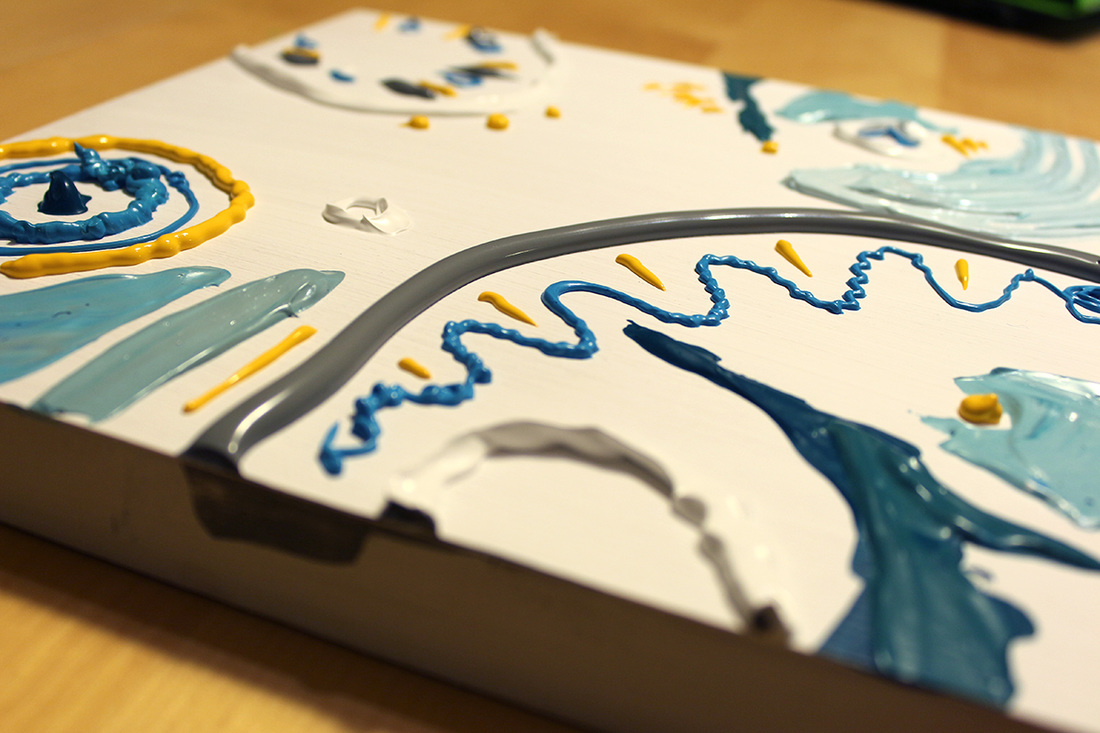
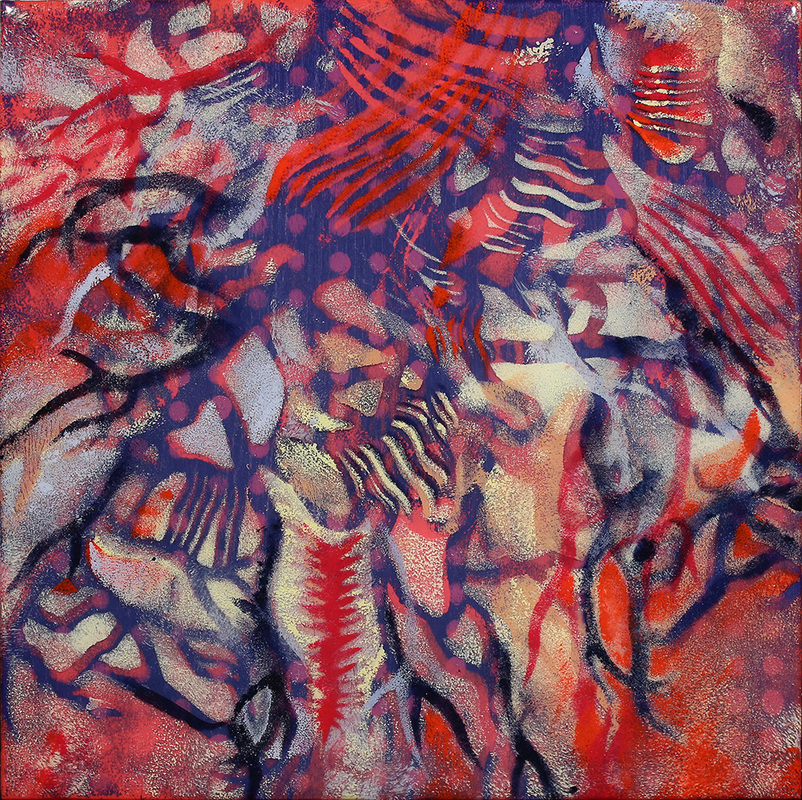
As for the 'Arounded' painting, here are progress shots of the drying process so you can see how the painting reveals itself over time as it dries. I will continue to post more until it is pretty much 100% clear. Please check back for even more updates/photos and links!
And if you found this at all interesting, please give this post a like or a tweet – it helps a lot, thanks! Last week I gave a talk with a demonstration component to members of the Oshawa Art Association. My main demo was of the process I use to make my 'Arounded' acrylic paintings. A magical part of the process is watching the painting emerge as the paint dries. At the talk I promised that I would share photos of the drying process because the changes are so dramatic as the gel portion dries, due to the nature of acrylics: when wet, the gel or mediums are milky white; they dry clear (more or less, depending on medium and other factors). Spots with the very thickest applications can take a considerable time to dry fully. Extremely thick applications done all at once may never truly clarify. Although there are small remaining gel "peaks" that are not yet clear, this sequence gives you a good look at the drying effects over time.
|
Kim-Lee KhoAs a visual artist I like nothing more than getting up to my elbows in paint or little plastic toys, or wading in at the deep end in pursuit of an idea. When I am not teaching others in a similar vein, you can find me researching, writing and noodling around in my studio, seeing where my latest lines of inquiry lead me. Archives
April 2022
Categories
All
All images and content on this website © Kim-Lee Kho 2005–2018 except as indicated. All rights reserved. No reproduction without express, written permission.
|


 RSS Feed